Showing posts with label Mad Mecha Guy. Show all posts

Friday, 15 April 2016

Mad Mecha Guy 15mm Flying Skiff

I have coveted several of Mad Mecha Guy's mdf creations for a while now but for various reasons my money has always been diverted elsewhere. A recent post from a Facebook friend recently alerted me to these new offerings, and at £5 (approx $7) for two, I just couldn't resist. They arrived within five days. You can't fault the speed of service.

Described as a Flying Skiff/Lighter, the 40 piece kits arrived in seperate bags, detached from the frame with no instructions. A confusing puzzle, and for one such as me with very little experience with mdf kits, a little daunting.

I needn't have worried. Comparing the pieces with the photos on the website made it very clear where everything goes. So much so, in fact, that I thought I'd put together a little guide.

The completed skiffs are 12 x 6.5 x 2cm (4.75 x 2.5 x 7/8" approx) and the pieces slot together very easily without being too tight to join or wobbling around too much. There is plenty of room for figures to be placed on deck, even for the more ham fisted among us 

I will probably add a few features such as tarps draped over the side before I paint them, but they could easily be used in game as they are.


So, the assembly guide. First, the pieces, all 40 of them:


I started with the hull. The five pieces shown create the aft section with what looks like the propulsion or exhaust opening.


All very neat so far.
The next part creates the shape of the underside to give it that boat-like hull. It took me a while to realise where the wedges go because they're hidden on the finished model. They are for fixing the sloped sides, as shown below.


The wedges. Three go along each side, but more are supplied. These fiddly parts could easily get misplaced.


The angled sides and front finish off the bottom of the skiff.


Flipping the model over, the prow section looked simple, so I did that next. (I subsequently realised what the small rectangular piece with 3 circles is for - you can see it in the first photo of all the parts just to the left of the prow. It attaches vertically on the outside of the prow. Lights, I assume.


A few more pieces make up the aft, stern or blunt end, but it follows a similar principle.

Two rails enclose the sides.


The last few parts are for the outriggers. Another small fiddly part gives the strut a more three-dimensional look before the hexagonal end plates are attached.


The finished skiff (with the rectangular lights part that I didn't know what to do with at that time!)


The models goes together very quickly; I managed to build three in just over an hour whilst taking pictures and arranging pieces for one of them.

Snap up a bargain for yourself here:

http://madmechaguy.kong365.com/en-gb/collections/new-15mm/products/15mm-flying-skifflighter

For reference purposes, the figures in the following pictures are based on UK pennies, which are a touch over 20mm, or 7/8" in diameter.


Thursday, 11 December 2014

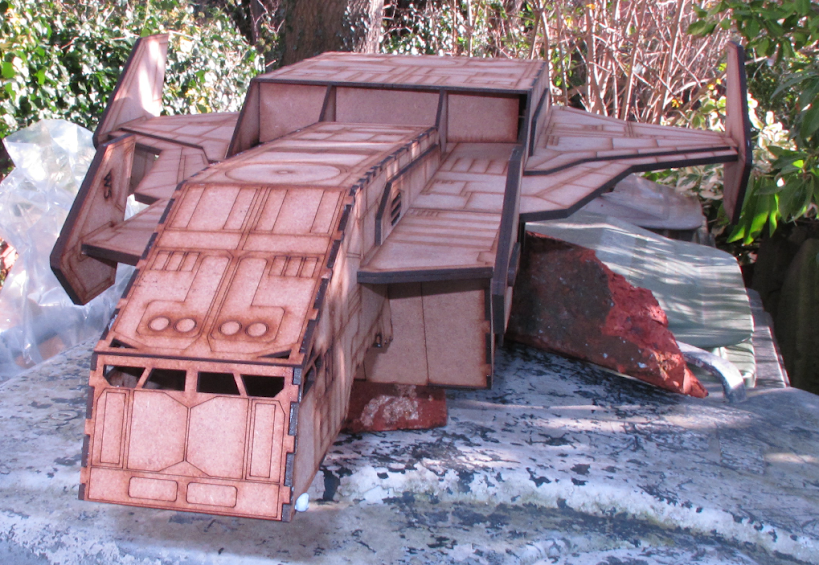
Dropship? Dropship!

From: TMP


Mad Mecha Guy shows off something I'm pretty sure I need.


Now for something Really BIG……

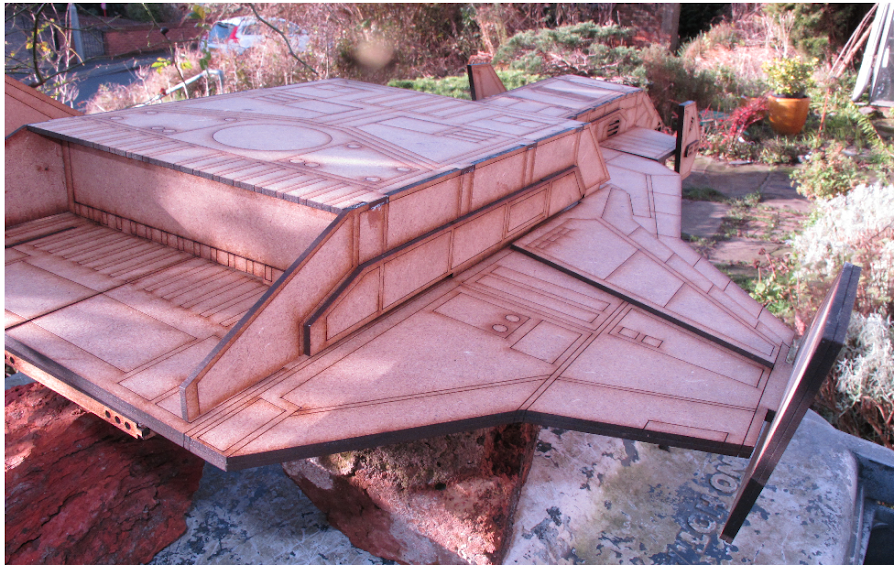
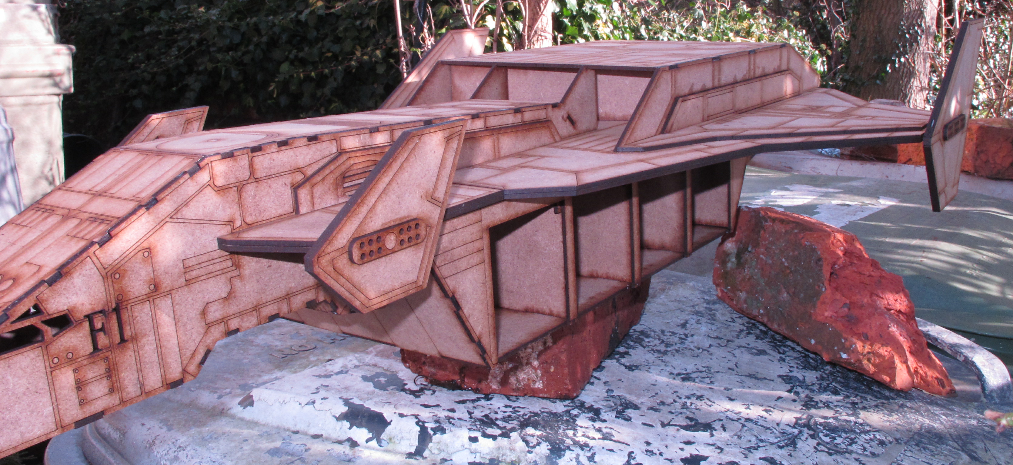
'NeNow' Hercules Drop-Shuttle.


Is based on the foam card Hercules shuttle design by Neil Nowatzki [http://theminiaturespage.com/boards/msg.mv?id=319071]

After being provided with plans I have redone the design for 2mm MDF.

Size:
60L x 40W x 15cm High
Pod: 34L x 15W x 7.5cmH, Bay Doors 6x6cm.

To make the Pod Doors operable, will need small RC plastic hinges & some 2D x 1mmH round magnets.

I am doing a Vehicle pod design with two 12cm doors on each side, will sell both as a whole kit & a separate interchangeable pod.

Price: £40.00GBP (takes several sheets).

UPDATE: Allowing for box & bubblewrap one would weight 1.6kGs so postage: £19.00 GBP. 
Can sent two (approx 3kGs) for £19.50 GBP or three for £23.05 GBP (go on you know you need 3!).

It is ready now, have modified the design slightly in adding a etched hatch on both side of hull near cockpit.

Regards

MMG.


Should I rename it the Canada Class?

Thursday, 19 December 2013

Mad Mecha Guy Containers

By Paul
From Mini Metal Mahem


 A few photographs of some of my laser cut MDF crates from Mad Mecha Guy.  These have been painted in the colours of the IMEC mining company who inhabit my fictional sci-fi universe.  I've used a Wilko red emulsion tester (I think it was "flame"!) and drybrushed with desert sand for a slightly dusty, used finish.  These will come in handy for decorating the starport or an industrial site.

Ready to load the truck

An assortment of crate - 3, 6, and 9cm lengths

 
15mm figures for scale.


The tops of some have been left open

Old toy lorry gets repaint in IMEC colors


IMEC logo stenciled on

Monday, 29 April 2013

Mad Mecha Guy's Single-Storey Shop (with Green Roof)

By Chris

The Future Urban Development Projct is well underway. Here is the first of my Mad Mecha Guy Shops with Green Roofs:


I didn't use too many fancy tricks or techniques on this. The shop and roof were both sprayed with white primer and painted with Model Master Camouflage Gray. Then I picked out the door and window frames with P3 Meridus Blue, painted the interior floor with Vallejo Heavy Bluegray, and the roof with Vallejo Heavy Brown. Then I flocked the roof with Woodland Scenics turf and sealed it with white glue.

Thursday, 25 April 2013

My First Order from Mad Mecha Guy

By Chris

I would like to share the best-kept secret in 15mm terrain - Mad Mecha Guy. Here is what $55 worth of terrain looks like on a 2' x 2' table:


Not a bad way to fill a table! Everything is thoughtfully designed (he simply refuses to waste material when cutting his sheets!) and features nice detailing. The cuts are nice and clean - most pieces just needed a few seconds with a sanding sponge before they were ready to glue. My initial order from him was for these five packs:

Here's a quick look at each pack...